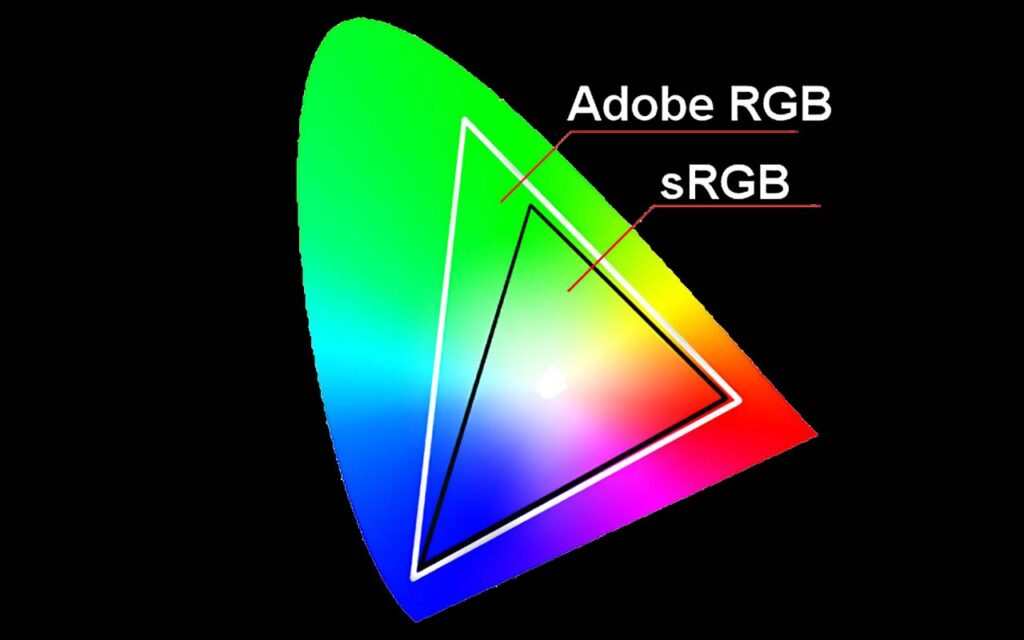
There is a lot of misconception about using Adobe RGB (1998) or sRGB, and debate in the photography community.
Why use Adobe RGB? The Short Answer
If you are taking photographs that will be printed in CMYK (Cyan, Magenta, Yellow, Black) on a professional press after having gone through a proper conversion to CMYK then choose Adobe RGB. If you are shooting images for any digital format, social media, the web, or if you want to take your images to a local retail printer, then choose sRGB.
If you shoot RAW, the setting in your camera doesn’t matter
All digital camera sensors see the world in RGB, that is a combination of Red, Green, Blue light. A RAW file stores a lot more information than a JPEG or a TIFF file, which are finalised or delivery files, not ideally an edit file, which is what your RAW is. If you select Adobe RGB or sRGB in your camera it will not affect the RAW file, but may affect the JPEG.
Adobe RGB does not record more colours than regular sRGB
The misconception I think comes from people misinterpreting the Adobe RGB vs sRGB colour gamut image we see a lot of online. Fair enough, it looks like Adobe RGB is recording more colours than sRGB, or is at least capable of doing so. But it is not the case. How much colour, or the dynamic range your camera captures is really dependant on the bit depth it is capable of, eg 8 it, 10 bit, 12 bit or 14 bit.
Adobe RGB outputs colours that are further apart on the spectrum with the intention of giving you a better conversion when you convert your colours to be print ready. Remember, ideally it is a format that you chose when you output your RAWs, and not something you have to be concerned about selecting in your camera if you shoot RAW. A lot of newspaper photographers still shoot JPEG because it is easier and they are on very tight deadlines for print so they have no time for RAW editing in Lightroom or Capture One. So they shoot JPEG in Adobe RGB that the prepress staff at the newspaper printers can easily convert to CMYK.
Adobe RGB colours tend to be further apart on the spectrum than sRGB. But it is still the same amount of colours recorded in your file.


Adobe RGB is an output format
When I edit a photo in Adobe Lightroom, I tend to output it in different formats depending on where the image is going. If it is going onto the web, I output in sRGB, if I want to print locally I print straight from Lightroom, or if I am taking a photo that will end up in a commercial print house, such as for a book or a magazine, I output in Adobe RGB as a 16 Bit 300dpi TIFF, then open that TIFF in Photoshop to manage the conversion to a 8 Bit CMYK file. I will always get a final image printed on paper that looks closer to the original picture I edited in Lightroom this way, because in constructing the Adobe RGB image as oppose to sRGB, Lightroom has selected colours that will convert to CMYK with less shift than sRGB. There is always a shift when changing any RGB colour format to CMYK colour, but Adobe RGB is designed to minimise that.

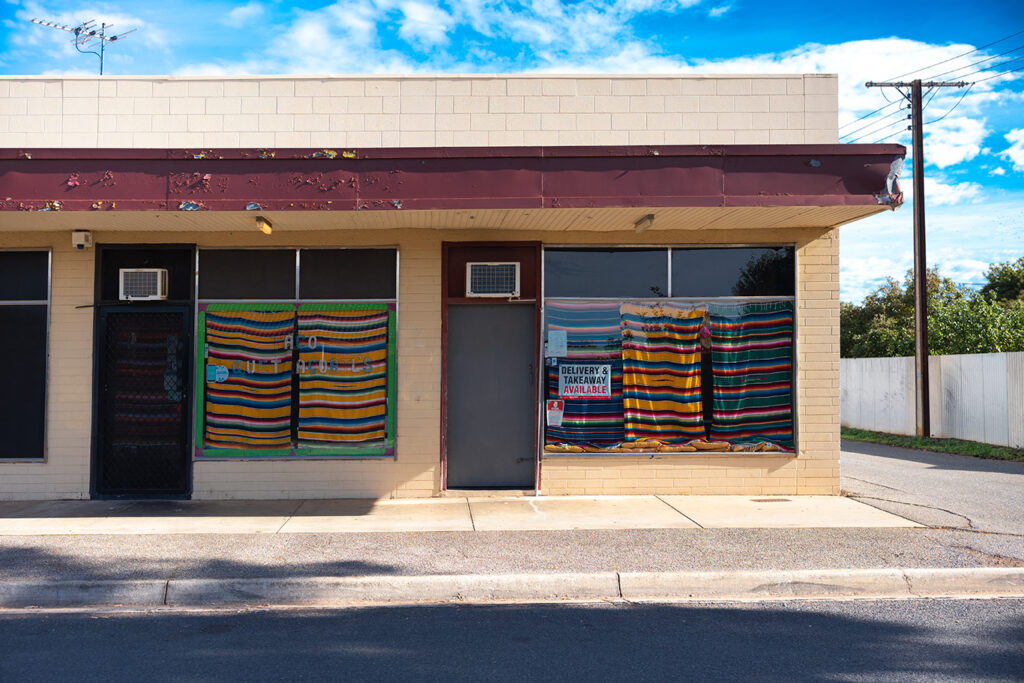
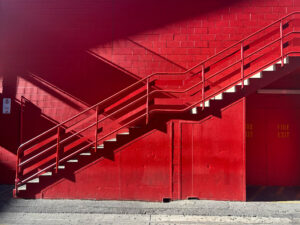
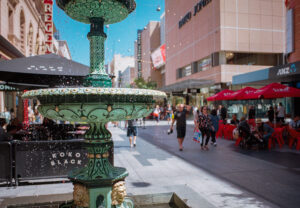
On these examples, I had to convert the Adobe RGB back to sRGB, but retained the colour shift as best I could to show you the difference. Between sRGB and Adobe RGB some colours can look more saturated, others more muted. As crushed blacks are something you want to avoid when printing, shadows tend to look a bit more open on Adobe RGB where there can be more contrast, especially in the shadows on sRGB. However, remember that you’ll only see the advantages of Adobe RGB if you use it for the purpose it was designed for, eg, an RGB colour format designed for CMYK conversions. You will more likely get a disappointing result by incorrectly using Adobe RGB than if you just stuck with sRGB.


