Adobe Lightroom is a powerful tool for photographers, offering a plethora of editing features that can transform a simple RAW file into a masterpiece. However, many users barely scratch the surface of what this software can do, often settling for basic adjustments or, at times, relying solely on presets. In this detailed guide, we delve into some of the more advanced, perhaps lesser-known features of Adobe Lightroom that can elevate your photo editing skills and help you craft some visually stunning images.
Beyond the Basics: Understanding Your Image
Before diving into the editing process, it’s crucial to look past the Histogram. While it provides valuable data about your photograph, remember, the essence of a great photo lies in its visual impact, not in the technical details of its Histogram. It’s the captivating images that leave a lasting impression, not the graphs behind them.
Starting with Corrections: The Guided Upright Tool
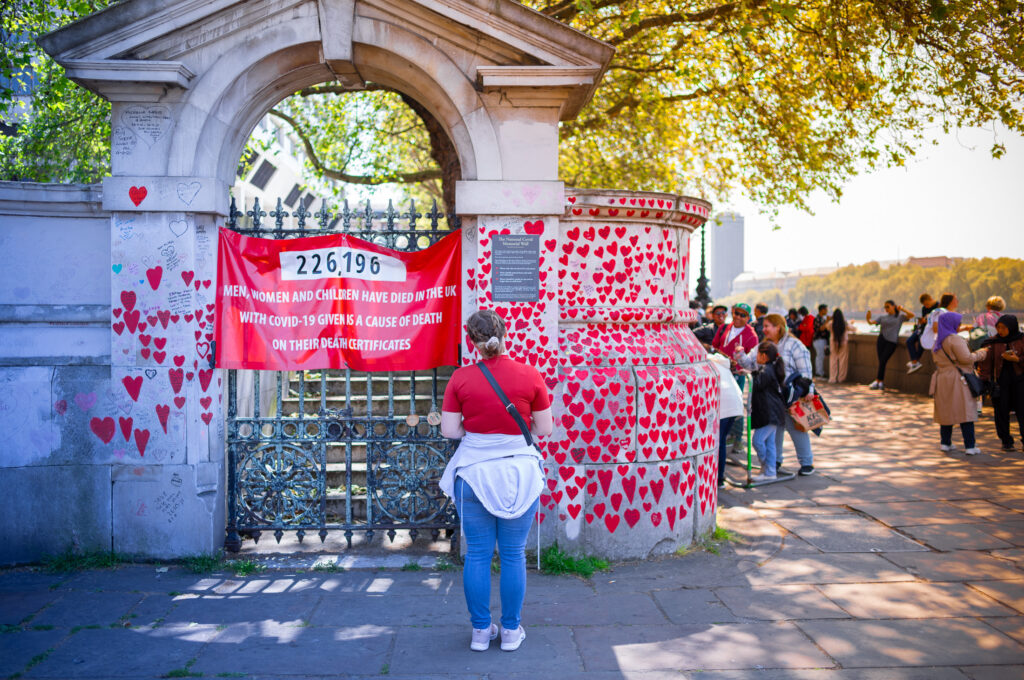
One common issue photographers face is getting the angle just right. Maybe your photo is slightly rotated or skewed. This is where the Guided Upright Tool under the Transform panel comes into play. By simply pressing Shift and T, Adobe Lightroom’s AI steps in to correct vertical and horizontal lines, straightening your image without manual adjustments.
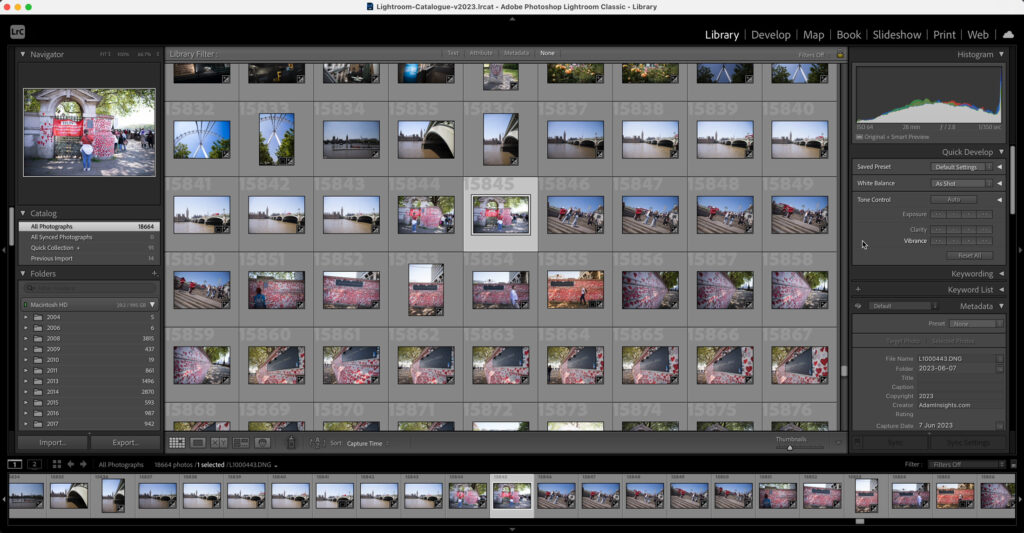
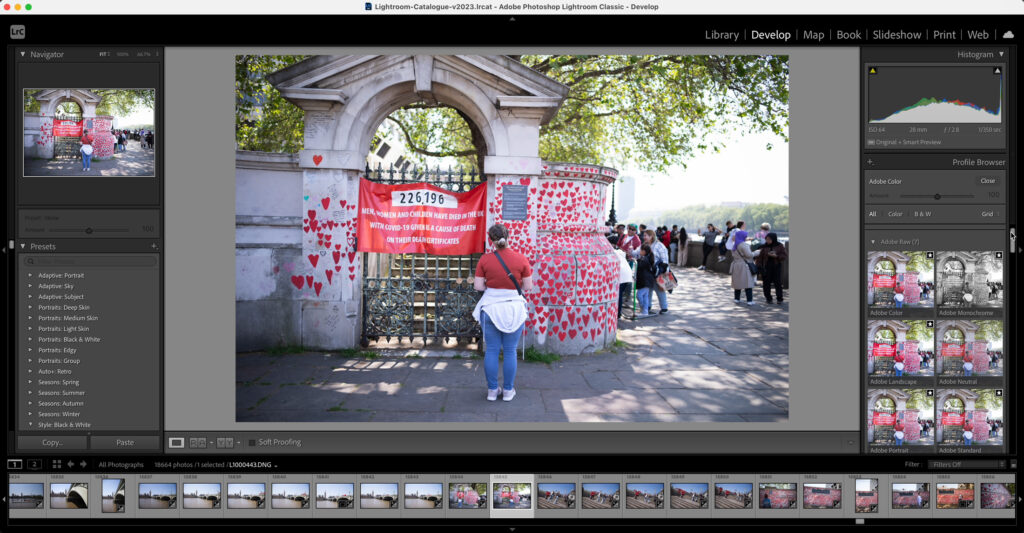
This feature is invaluable for ensuring the structural integrity of your photos.
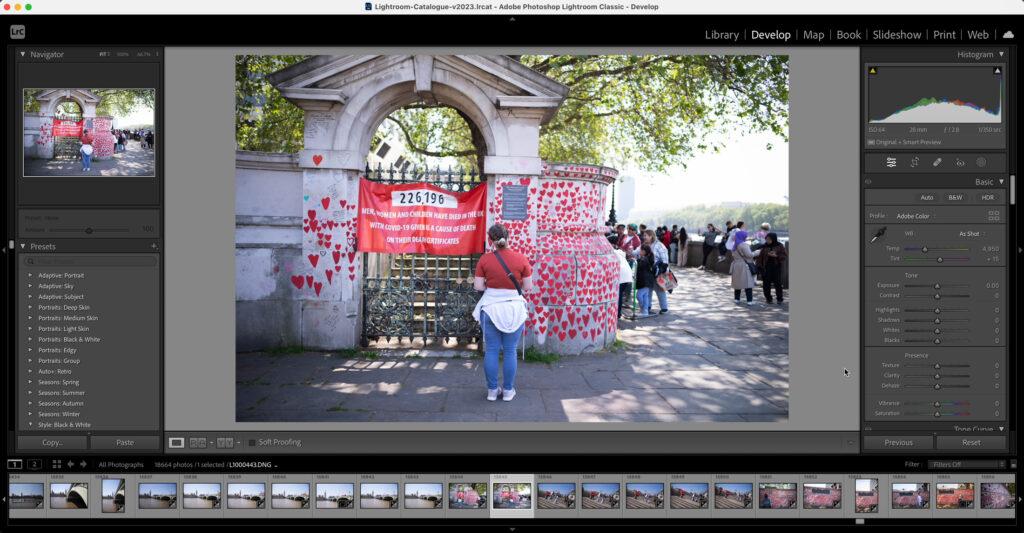
Refining Details: Highlights and Shadows
To enhance the dynamic range of your image, adjusting the Highlights and Shadows can bring back lost details. For instance, pulling back the Highlights can recover details in the sky, while lifting the Shadows brightens up darker areas without overexposing the entire image. This nuanced approach allows for a balanced exposure, ensuring all elements of your photo are properly showcased.
Color Editing with Precision: The Colour Mixer
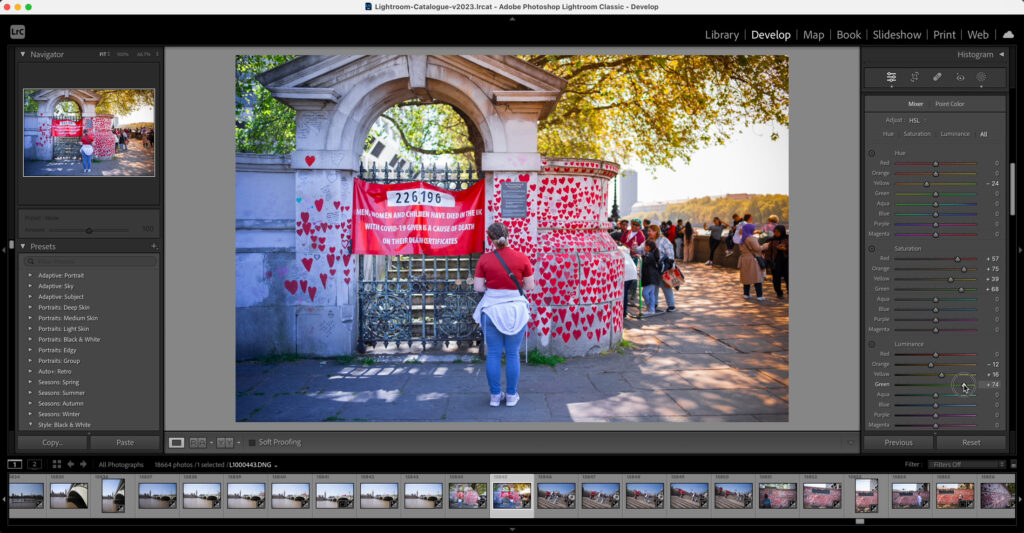
While the Vibrance and Saturation sliders offer a quick way to enhance colours, they lack specificity. To truly make colours pop without affecting the entire image, delve into the Colour Mixer.
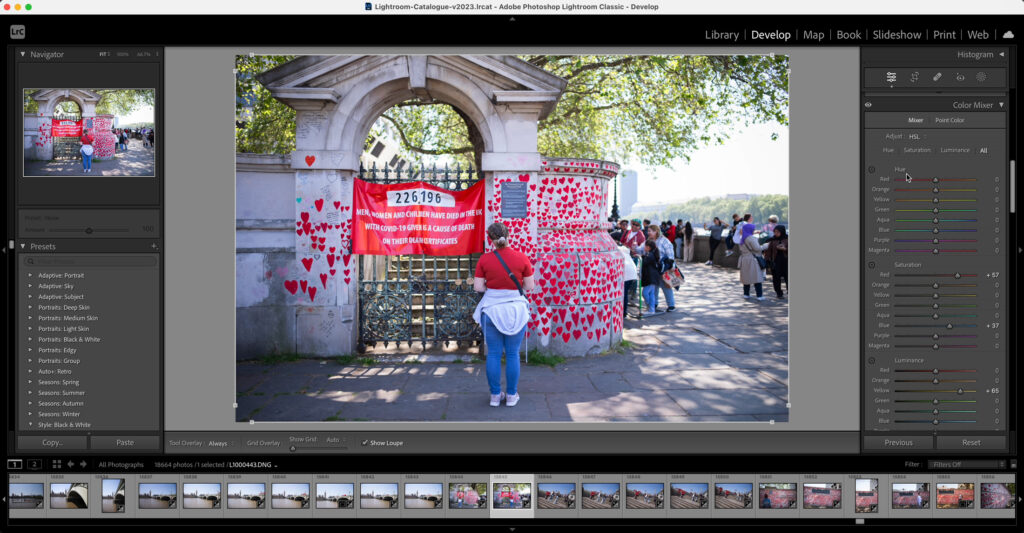
By adjusting the Saturation sliders for Reds and Blues, you can emphasise these colours precisely. Additionally, the Luminance Mixer can be used to brighten specific colours, like the yellows of sunlight hitting leaves, adding depth and vibrancy to your photo.
Advanced Color Correction: The Hue Slider
The Hue Slider within the Colour Mixer offers powerful colour correction capabilities. It allows for the adjustment of specific colours without altering the rest of the image. This tool is perfect for fine-tuning the hues of specific elements, such as clothing or flowers, to achieve the desired aesthetic or to correct colour inaccuracies.
Targeted Adjustments: Masking
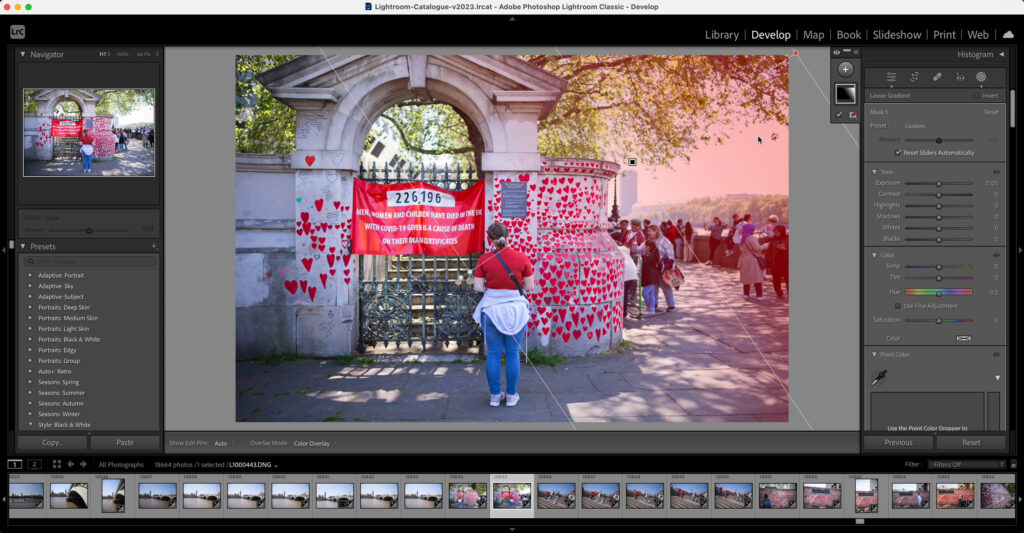
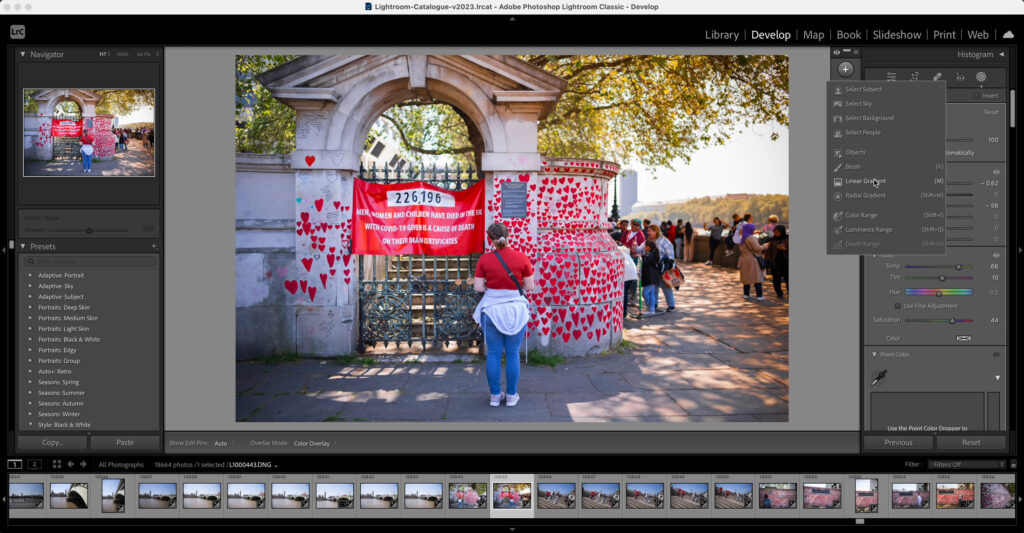
Masking is a cornerstone of advanced Lightroom editing. It enables selective editing, allowing you to apply changes to specific parts of your image. For landscapes, the Sky Mask can isolate the sky for exposure adjustments. Similarly, a linear gradient mask can simulate the natural flow of light, creating a warm or cool tone by adjusting the white balance selectively. This technique can introduce a dramatic mood or atmosphere to your image, enhancing its emotional impact.
Remember The Art of Subtlety
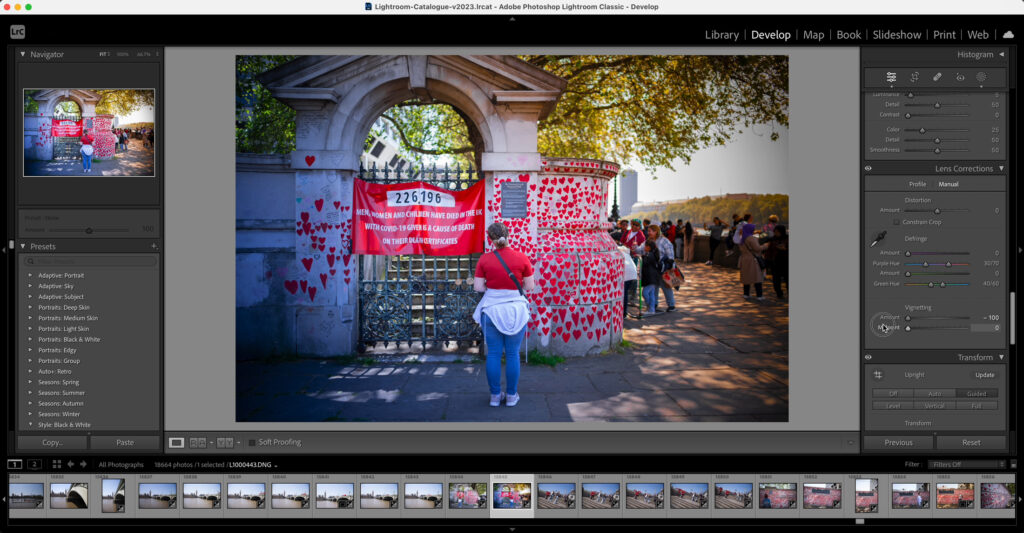
As you explore these advanced Adobe Lightroom editing techniques, remember the golden rule: moderation. Over-editing is a common pitfall. The goal is to enhance your photos, not overshadow the natural beauty and authenticity of your shots.
By mastering these sophisticated tools, you can unlock the full potential of Lightroom, transforming good photos into great ones. Incorporating these advanced editing techniques into your workflow can significantly improve the quality and impact of your photographs. By moving beyond basic adjustments and embracing the powerful, nuanced features that Adobe Lightroom offers, you’ll not only refine your editing skills but also develop a more sophisticated visual style that stands out in the digital landscape.


